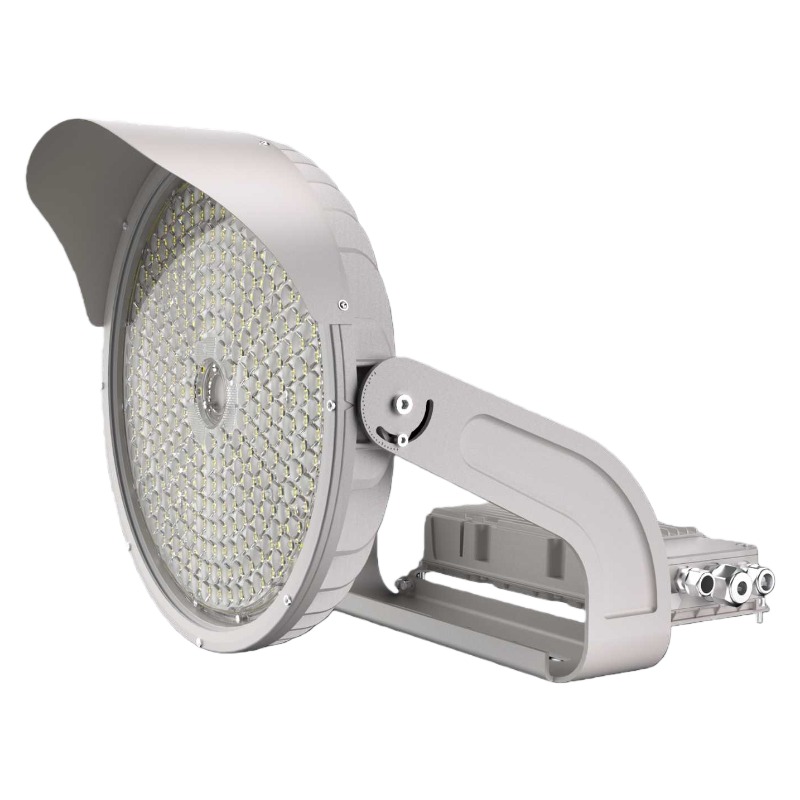
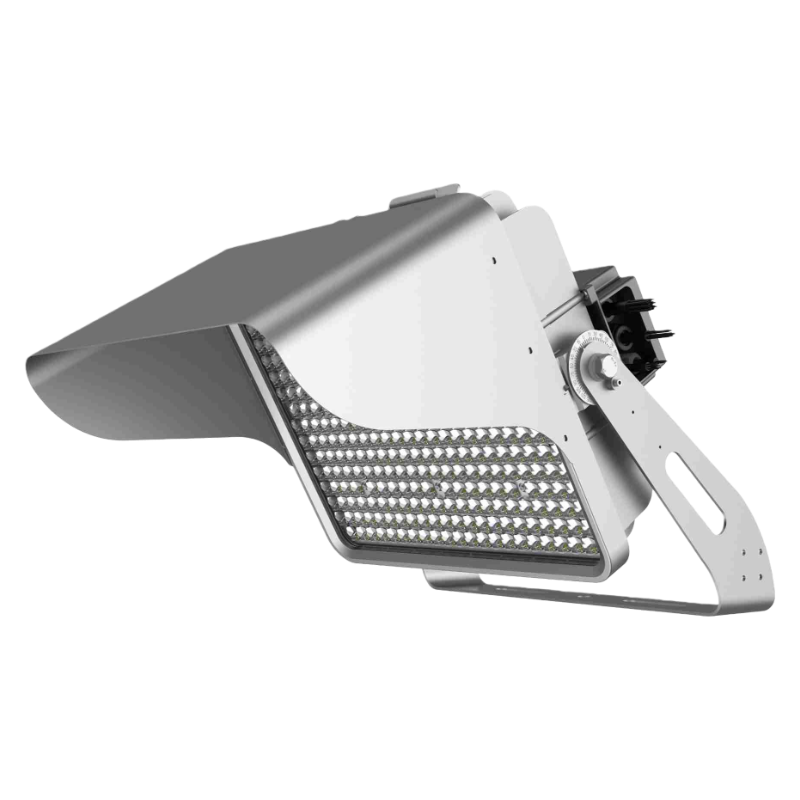
Installing LED area lights correctly is crucial to maximizing their performance, durability, and safety—especially in outdoor spaces like parking lots, communities, and commercial yards. ZC Lighting LED Area Lights offer three versatile mounting options: carriage mount, pole mount, and wall mount, each tailored to different space layouts and lighting needs. This step-by-step guide walks you through each installation method, from pre-installation prep to post-install checks, ensuring a smooth, secure setup that gets your lights shining bright in no time.
Why Mounting Method Matters for ZC Lighting LED Area Lights
Choosing the right mounting style isn’t just about space constraints—it impacts how light spreads, how secure the fixture is, and how easy it is to maintain. Here’s why each method matters:
-
Carriage Mount: Ideal for existing light poles with crossarms (common in older parking lots), offering stable overhead installation without replacing poles.
-
Pole Mount: The most popular choice for new installations (e.g., new parking lots or parks), allowing flexible placement of poles to optimize light coverage.
-
Wall Mount: Perfect for spaces with limited pole access (e.g., building perimeters, narrow walkways), directing light outward from walls to cover targeted areas.
ZC Lighting designs its LED area lights with universal mounting brackets and included hardware, making all three methods accessible even for DIY installers or contractors.
Pre-Installation Preparation: Safety & Tools You’ll Need
Before starting any installation, prioritize safety and gather the necessary tools to avoid delays or accidents.
a. Critical Safety Precautions
-
Shut Off Power: Locate the circuit breaker for the installation area and turn it off. Use a voltage tester to confirm no electricity is flowing to the wiring.
-
Use PPE: Wear safety glasses, non-slip gloves, and a hard hat—especially when working at heights (e.g., on ladders or lifts).
-
Secure Ladders/Lifts: Use a stable extension ladder (rated for your weight plus the fixture) or aerial lift. Never lean ladders against unstable surfaces.
-
Check Weight Capacity: Ensure mounting surfaces (poles, walls, crossarms) can support the fixture’s weight (ZC LED area lights typically weigh 8-15 lbs).
b. Required Tools & Hardware
All ZC Lighting LED Area Lights include a mounting hardware kit, but you’ll need these additional tools:
-
Drill with Phillips-head bit, masonry bit (for concrete walls/poles), and spade bit (for wiring holes).
-
Screwdriver set (Phillips and flat-head).
-
Voltage tester and wire strippers.
-
Tape measure, pencil, and level (to ensure straight mounting).
-
Wrench set (for tightening pole/carriage mount brackets).
c. Inspect the Fixture
Unbox the ZC LED area light and check for damage (e.g., cracked housing, loose wires). Verify that all mounting parts are included: brackets, screws, washers, and wire nuts. If anything is missing or damaged, contact ZC Lighting customer support immediately.
Method 1: Carriage Mount Installation (For Light Pole Crossarms)
Carriage mount (also called “yoke mount”) attaches the fixture to the crossarm of an existing light pole—common in retrofitting old parking lots with LED upgrades.
-
Position the Carriage Bracket: Place the U-shaped carriage bracket (included) around the pole’s crossarm. Ensure the bracket’s mounting plate is facing downward (where the fixture will hang).
-
Secure the Bracket: Insert the included carriage bolts through the bracket’s holes, then fasten with nuts and washers. Tighten with a wrench until the bracket is snug (no wobbling).
-
Attach the Fixture to the Bracket: Lift the ZC LED area light and align its mounting holes with the holes on the carriage bracket. Drive the included machine screws through the fixture into the bracket, tightening with a screwdriver.
-
Run Wiring: Feed the fixture’s power cable through the crossarm (or use a weatherproof conduit) to the pole’s internal wiring. Connect the fixture’s wires to the pole’s wiring: brown (live) to black, blue (neutral) to white, and green/yellow (ground) to green. Secure connections with wire nuts.
-
Seal Wiring Holes: Use weatherproof silicone caulk around the wiring entry point to prevent water or dust from entering the pole.
Pro Tip: For crossarms wider than 6 inches, use ZC’s optional extended carriage bracket to ensure a secure fit.
Method 2: Pole Mount Installation (For New/Existing Poles)
Pole mount is the standard for new installations, attaching the fixture directly to the top or side of a light pole (typically 2-4 inches in diameter).
-
Prepare the Pole: If mounting on top of the pole, drill a ½-inch hole through the pole’s side near the top for wiring. If mounting on the side (for angled light), mark the desired height (15-25 feet for optimal coverage).
-
Attach the Pole Mount Bracket: For top mounting: Place the flat pole cap bracket on top of the pole, aligning the wiring hole with the pole’s hole. Secure with the included pole clamp or screws (drill pilot holes if needed). For side mounting: Wrap the curved pole bracket around the pole, aligning the mounting plate with your marked height. Tighten the bracket’s clamp screws with a wrench.
-
Mount the Fixture: Align the ZC LED area light’s mounting holes with the bracket’s holes. Insert the included screws and tighten until the fixture is secure (use a level to ensure it’s straight).
-
Wire Connection: Feed the fixture’s cable through the pole’s wiring hole. Connect the wires to the pole’s power supply (matching colors as in Method 1). Use a weatherproof wire box inside the pole to protect connections.
Note: ZC’s pole mount brackets fit poles with diameters 2-4 inches. For larger poles, request a custom bracket from ZC Lighting.
Method 3: Wall Mount Installation (For Building Perimeters & Walkways)
Wall mount directs light outward from buildings, walls, or fences—ideal for illuminating sidewalks, loading docks, or narrow parking strips.
-
Mark Mounting Holes: Hold the wall mount bracket against the wall at the desired height (10-15 feet for walkways). Use a level to ensure the bracket is straight, then mark the four screw holes with a pencil.
-
Drill Pilot Holes: Drill holes at the marked points. For concrete/brick walls, insert expansion anchors (included) into the holes. For wood walls, skip anchors and drill directly into the studs.
-
Secure the Bracket: Drive the included lag screws through the bracket into the anchors/studs, tightening with a drill or screwdriver until the bracket is flush with the wall.
-
Attach the Fixture: Align the ZC LED area light with the bracket’s mounting holes. Insert screws and tighten—adjust the fixture’s angle (if the bracket is adjustable) to direct light where needed.
-
Wire the Fixture: Run the power cable through a weatherproof conduit from the wall’s electrical box to the fixture. Connect wires as before, then use silicone caulk to seal the conduit entry point.
Post-Installation Checks: Ensure Safety & Performance
After installing your ZC Lighting LED Area Light, perform these final checks:
-
Test Power: Turn the circuit breaker back on. The fixture should light up immediately. If not, turn off power and recheck wiring connections.
-
Check Stability: Gently tug the fixture to ensure it’s securely mounted—no wobbling or loose parts.
-
Verify Alignment: Use a level to confirm the fixture is straight. For wall/pole mounts, adjust the angle to ensure light covers the target area without glare.
-
Inspect Weather Seals: Check that all wiring entry points are sealed with caulk or conduit to prevent water damage.
Troubleshooting Common Installation Issues
Here’s how to fix typical problems:
-
Fixture won’t turn on: Check power supply; verify wire connections (no loose nuts or mismatched colors); test the voltage with a tester.
-
Fixture is wobbly: Tighten mounting screws/brackets; ensure the pole/crossarm is not damaged; use additional washers for a snug fit.
-
Water leaking into fixture: Reapply silicone caulk around wiring holes; check that the fixture’s gasket is intact (replace if damaged).
Conclusion: Easy, Versatile Mounting for Every Space
ZC Lighting LED Area Lights’ carriage, pole, and wall mount options make them adaptable to any outdoor lighting project—whether you’re retrofitting old poles or installing new ones. With included hardware, user-friendly brackets, and clear steps, you can complete installation quickly and confidently.
By choosing the right mounting method for your space, you’ll ensure optimal light coverage, long-term durability, and maximum energy savings. For more help, refer to ZC Lighting’s installation video tutorials or contact their technical support team for personalized guidance. Ready to install? Grab your ZC LED area light and transform your space with bright, reliable illumination.