High bay lights are the backbone of lighting in warehouses, large garages, and industrial facilities—but their performance depends entirely on proper installation and proactive maintenance. A 2024 industry survey found that 65% of high bay light failures stem from incorrect installation (e.g., poor wiring, improper mounting) and 25% from neglected maintenance (e.g., dust buildup, loose connections) (Luminary Maintenance Report, 2024). These issues don’t just cause downtime—they increase safety risks and inflate energy costs. This blog shares actionable tips for installing high bay lights correctly and maintaining them to maximize lifespan, brightness, and efficiency.
Part 1: Installation Tips—Get It Right the First Time
Installing high bay lights isn’t just about hanging fixtures—it requires careful planning, adherence to safety codes, and attention to detail. Follow these steps to avoid costly mistakes:
1. Pre-Installation Assessment: Lay the Groundwork
Before picking up a tool, evaluate your space to determine the best installation approach:
-
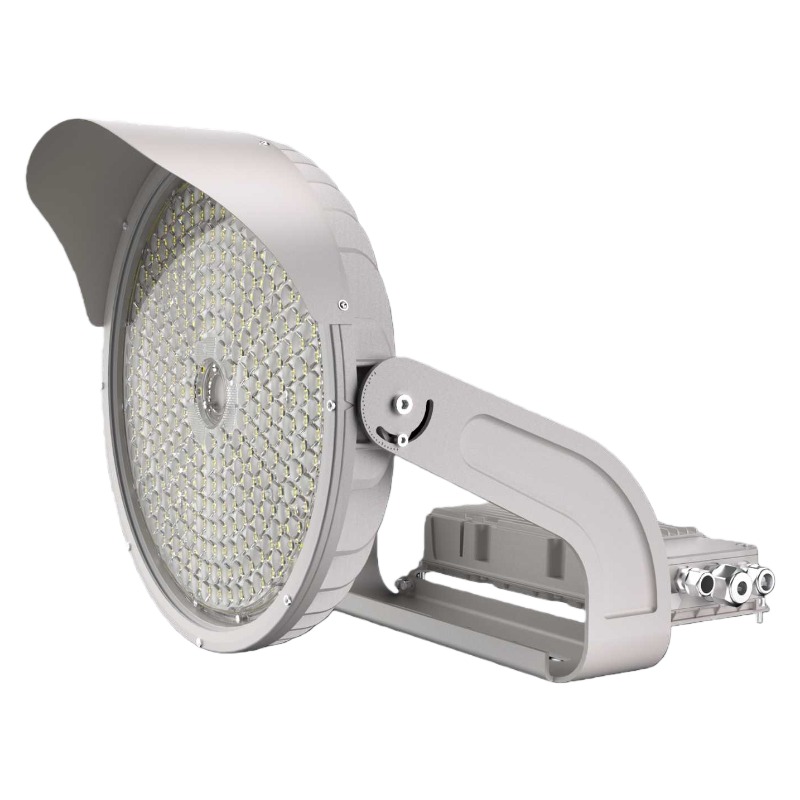
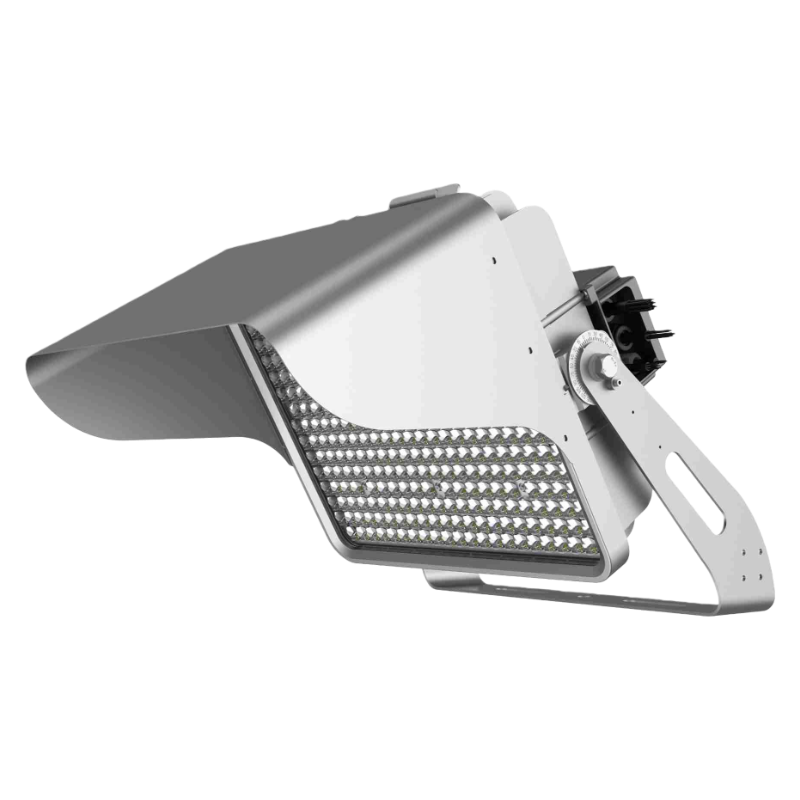
Ceiling Structure Check: Ensure the ceiling (steel beams, concrete, or wooden trusses) can support the fixture weight. Most UFO high bays weigh 5–8kg, but check the manufacturer’s specs—overloaded supports can collapse. For concrete ceilings, use expansion bolts rated for 3x the fixture weight; for steel beams, use heavy-duty C-clamps or beam brackets.
-
Circuit & Voltage Verification**: High bay lights typically run on 120V/240V AC (single-phase) or 277V/480V AC (three-phase). Use a multimeter to confirm the circuit voltage matches the fixture’s rating—mismatched voltage will burn out drivers within minutes. Also, ensure the circuit breaker can handle the total load (e.g., 20x 150W fixtures = 3000W, requiring a 15A breaker for 240V).
-
Layout Planning**: Map fixture positions to ensure uniform brightness. For UFO high bays, space fixtures 2–3x the ceiling height apart (e.g., 10m ceilings = 20–30m spacing). Use a laser level to mark mounting points—this prevents uneven alignment that causes dark spots.
2. Safety First: Never Skip These Precautions
High bay installation involves working at height and with electricity—follow OSHA guidelines to avoid accidents:
-
Power Off**: Turn off the main circuit breaker and lock it out (LOTO procedure) to prevent electric shock. Use a voltage tester to confirm no current flows before wiring.
-
Fall Protection**: For ceilings over 3m, use a stable scissor lift or extension ladder (never a step ladder). Wear a harness if working at 6m+—falls are the leading cause of installation injuries.
-
Insulate Tools**: Use insulated screwdrivers, pliers, and wire strippers to reduce shock risk. Avoid working in wet or humid conditions unless fixtures are IP67-rated.
3. Step-by-Step Installation (UFO High Bay Example)
-
Mount the Bracket**: Attach the mounting bracket (hook, chain, or Ceiling cup) to the ceiling using the appropriate hardware (expansion bolts for concrete, beam clamps for steel). Tighten until the bracket is secure—wiggle it to test stability.
-
black (hot) to hot, white (neutral) to neutral, green/yellow (ground) to ground. Wire the Fixture: Remove the wiring compartment cover from the fixture. Connect the fixture’s wires to the ceiling wires. Use wire nuts and electrical tape to secure connections—loose wires cause arcing and fires.
-
Hang the Fixture**: For hook/chain mounts, attach the fixture’s hanging loop to the bracket. Adjust the chain length to ensure the fixture is level (use a bubble level). Secure the fixture to the bracket with screws.
-
Test & Adjust**: Turn on the power and check for flickering or dimming. Use a lux meter to verify brightness—adjust fixture angle (if adjustable) to eliminate dark zones.
Pro Tip: Label each circuit with the fixture zone (e.g., "Aisle 3, Fixtures 1–5")—this makes troubleshooting easier later.
4. Layout Optimization for Maximum Brightness
Even the best fixtures perform poorly with a bad layout. Use these tricks for uniform illumination:
-
Zoned Lighting: Install dimmable fixtures in low-activity areas (e.g., storage corners) and brighter fixtures in high-traffic zones (e.g., picking aisles). This saves energy while maintaining safety.
-
Beam Angle Matching: Use narrow beams (15–30°) for high ceilings (12m+) to focus light downward; wide beams (45–60°) for medium ceilings (8–12m) to cover more area.
-
Skylight Synergy: Position fixtures to complement natural light—avoid installing lights directly under skylights, as this wastes energy.
Part 2: Maintenance Tips—Extend Lifespan & Performance
High bay lights are built to last 50,000–100,000 hours, but neglecting maintenance cuts lifespan by 30–40%. Follow this maintenance schedule to keep fixtures in top shape:
1. Daily/Weekly Checks: Quick Inspections
These 5-minute checks prevent small issues from becoming big problems:
-
Brightness & Flicker: Walk the facility to spot dim or flickering fixtures—these are signs of driver failure or loose wiring.
-
Physical Damage: Check for cracked lenses, bent brackets, or water intrusion (for outdoor/ humid areas). Damaged fixtures should be replaced immediately to avoid electrical hazards.
2. Monthly Maintenance: Deep Cleaning
Dust, dirt, and grease buildup reduce light output by 10–20%—clean fixtures monthly:
-
Power Off First: Always disconnect power before cleaning.
-
Clean Lenses: Wipe polycarbonate lenses with a soft cloth and mild detergent (avoid abrasive cleaners that scratch). For dusty warehouses, use a vacuum with a brush attachment first to remove loose debris.
-
Inspect Wiring: Open the wiring compartment (if accessible) to check for loose wires or corrosion. Retighten wire nuts and apply dielectric grease to terminals in humid areas.
3. Quarterly Maintenance: Mechanical & Electrical Checks
Every 3 months, perform these more thorough tasks:
-
Mounting Hardware**: Tighten loose brackets, hooks, or chains—vibration from machinery can loosen them over time.
-
Driver & Ballast Inspection**: For LED fixtures, check the driver for overheating (it should feel warm, not hot). For older MH/HPS fixtures, replace ballasts if they hum or fail to start.
-
Smart Controls Test**: If using motion sensors or daylight harvesting, trigger sensors manually to ensure they dim/brighten correctly. Update firmware (if applicable) for optimal performance.
4. Annual Maintenance: Long-Term Care
Once a year, invest in these checks to extend fixture lifespan:
-
Lumen Output Test**: Use a lux meter to measure brightness against the fixture’s initial specs. If output drops by 30% or more, replace the fixture (LEDs degrade slowly, so this usually takes 7–10 years).
-
Circuit Load Audit: Verify if the circuit is overloaded (e.g., if new fixtures have been added). Redistribute load if necessary to avoid breaker tripping.
-
Seal Inspection**: For IP67-rated fixtures, check gaskets and seals for cracks—replace them to maintain water/dust resistance.
5. Common Maintenance Mistakes to Avoid
-
Using Harsh Chemicals: Acetone or ammonia-based cleaners damage lens coatings—stick to mild soap and water.
-
Ignoring Flicker: Flickering isn’t just annoying—it’s a sign of a failing driver. Replacing the driver ($20–$50) is cheaper than replacing the entire fixture ($150–$300).
-
Overlooking Cold Storage: In -30°C to 0°C environments, clean fixtures more frequently (every 2 weeks) to prevent ice buildup on lenses.
Case Study: Maintenance Done Right
A 120,000 sq. ft. distribution center in Texas implemented the above maintenance schedule for 500x UFO high bays. Results after 2 years:
-
Fixture failure rate dropped from 15% to 2%.
-
Energy costs decreased by 8% (due to clean lenses maintaining brightness, avoiding overuse of higher wattages).
-
Maintenance labor time cut by 40% (proactive checks caught issues early).
Conclusion: Installation & Maintenance = Long-Term Value
High bay lights are a significant investment, but proper installation and maintenance ensure they deliver maximum return. By following safety guidelines during installation, optimizing layout for brightness, and sticking to a regular maintenance schedule, you’ll extend fixture lifespan, reduce energy costs, and keep your warehouse or garage safe and productive. Remember: the best high bay light is the one that’s installed correctly and cared for consistently. With these tips, you’ll avoid common pitfalls and keep your lighting system shining bright for years to come.