LED Sports Lights Installation Guide for Outdoor Fields
Introduction
Installing LED sports lights on an outdoor athletic field is a complex, high‑stakes project. Unlike indoor lighting or simple floodlight retrofits, sports lighting demands precise photometric design, careful aiming, robust mounting, and strict compliance with electrical codes and broadcast standards. A poorly installed system can result in dangerous dark spots, player‑blinding glare, wasted energy, and failure to meet IES or league requirements.
This guide provides a complete, step‑by‑step installation process for LED sports lights on outdoor fields – from planning and safety to mounting, wiring, aiming, and final verification. Whether you are an electrical contractor, a facility manager overseeing an upgrade, or a stadium owner, this 2026 guide ensures a safe, code‑compliant, and high‑performance installation.
Before You Start – Pre‑Installation Essentials
1. Confirm Photometric Design and Fixture Locations
LED sports lighting is not a “one‑size‑fits‑all” product. Before any hardware is mounted, you must have a professional photometric plan generated in AGi32, Dialux, or similar software. The plan should specify:
-
Exact pole locations and mounting heights
-
Number of fixtures per pole
-
Fixture type and beam angle for each position (narrow, medium, wide)
-
Target horizontal and vertical illuminance (lux/fc)
-
Uniformity ratios (U₀ and U₁)
-
Glare ratings (UGR or GR)
Do not proceed without a photometric plan. Guessing fixture placement leads to poor results and expensive rework.
2. Verify Pole and Structural Integrity
Existing poles intended for metal halide floodlights may not be suitable for LED fixtures without modification.
-
Weight differences: LED sports lights are typically 40‑60% lighter than equivalent metal halide fixtures. While this reduces static load, wind loading calculations change – consult a structural engineer.
-
Mounting tenon diameter: Most LED sports lights mount on standard 2 3/8″ (60mm) or 3″ (76mm) tenons. Measure existing poles.
-
Access: Ensure boom lifts or scaffolding can reach all mounting positions. For poles over 80 ft, specialized climbing or crane access may be required.
-
Secondary safety attachment points: Confirm that each pole has an independent anchor point for secondary safety cables (required by OSHA).
3. Gather Required Tools and Equipment
| Category | Items |
|---|---|
| Access equipment | Boom lift (telescopic or articulated), scissor lift (for lower poles), bucket truck |
| Safety gear | Hard hat, safety glasses, high‑vis vest, fall arrest harness, lanyard, anchor sling |
| Hand tools | Wrench set, socket set, torque wrench, hex keys, screwdrivers, wire strippers/cutters |
| Electrical tools | Voltage tester/multimeter, wire nuts, weatherproof connectors, heat gun (for heat‑shrink), cable ties |
| Aiming tools | Inclinometer (digital), laser pointer (green, high‑visibility), protractor, smartphone with lux meter app (for verification) |
| Mounting hardware | Stainless steel bolts, washers, lock washers, secondary safety cables (1/8″ or 3/16″ stainless steel cable + swage fittings) |
| Documentation | Photometric plan (printed), manufacturer installation manual, DLC certificate, serial number labels |
4. Perform Electrical Pre‑Check
-
Voltage verification: Confirm supply voltage matches fixture rating (typically 100‑277V AC, 347V, or 480V). Many LED sports lights are multi‑voltage (universal input).
-
Circuit capacity: Calculate total load per pole (number of fixtures × wattage). Ensure breakers, wiring, and contactors are adequately sized. For 480V systems, use appropriately rated disconnect switches.
-
Control wiring: If using 0‑10V dimming or DALI, verify that control cables are run to each pole and are separated from line voltage per NEC Class 2 requirements.
-
Grounding: Verify pole grounding (ground rod at each pole or continuous ground conductor). LED drivers require a solid earth ground.
-
Lockout/Tagout (LOTO): Before any electrical work, disconnect power at the main panel, lock the breaker, and tag it.
Step‑by‑Step Installation Procedure
Step 1: Prepare Fixtures at Ground Level
Before lifting fixtures to the poles, perform these tasks on the ground (saves time and reduces fall risk):
-
Inspect fixtures for shipping damage (cracked lenses, bent brackets).
-
Set DIP switches for field‑selectable wattage and CCT according to the photometric plan. Many 2026 LED sports lights allow adjustment of power output (e.g., 600W/800W/1000W) and color temperature (e.g., 4000K/5000K/5700K).
-
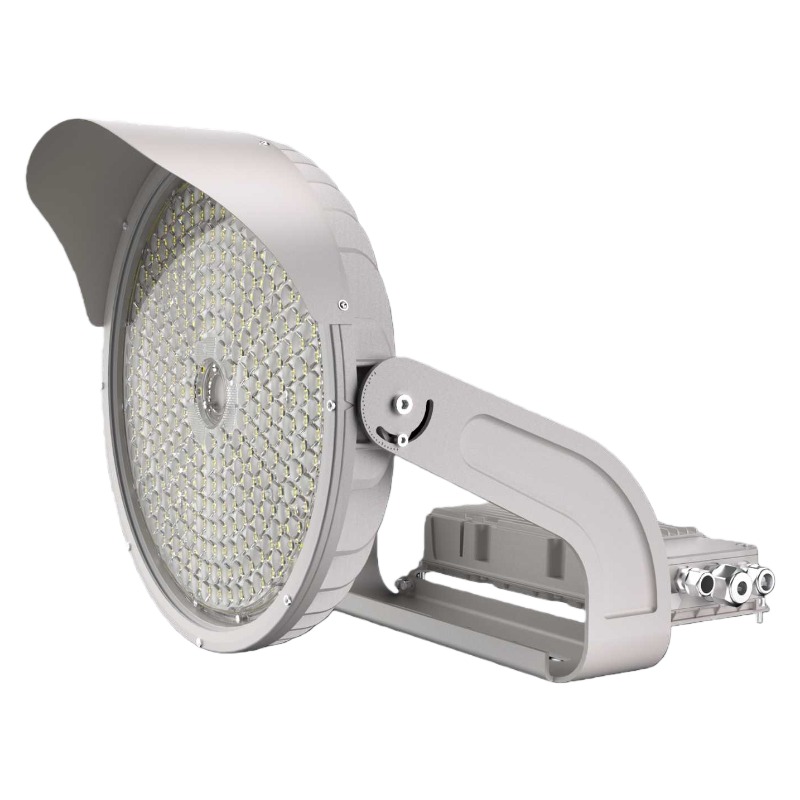
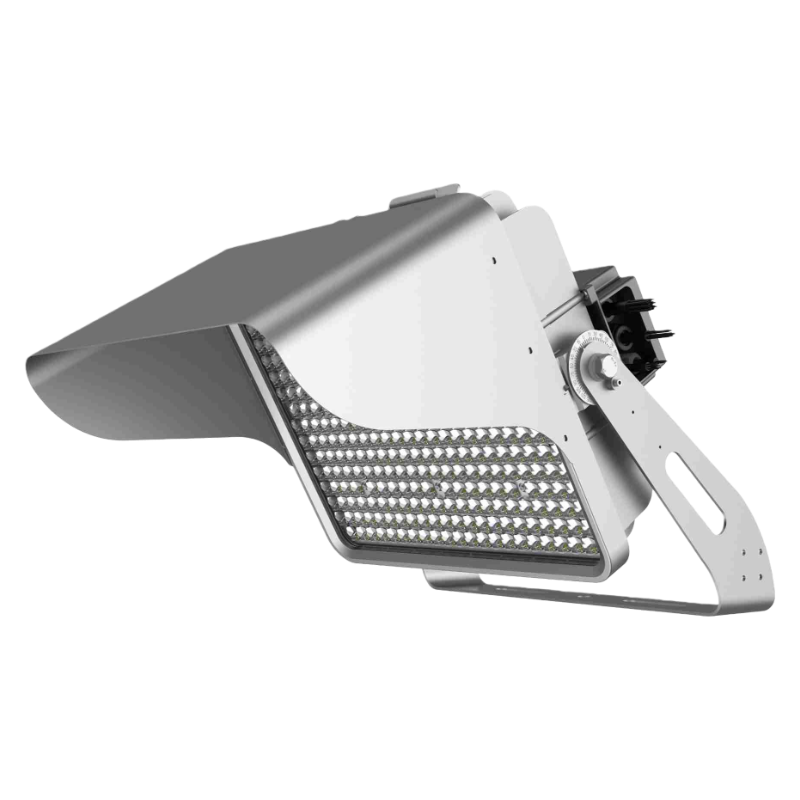
Attach mounting bracket (slip‑fitter, trunnion, yoke, or fixed arm) to the fixture. Torque bolts to manufacturer specifications.
-
Install glare shields or visors if specified.
-
Attach secondary safety cable to the fixture‘s designated anchor point. Use a stainless steel cable loop (swaged or crimped) with a carabiner or threaded stud.
-
Label each fixture with its pole number and position (e.g., “Pole 3 – upper left”) using weatherproof tags.
Step 2: Lift Fixtures to Pole with Proper Rigging
Use a boom lift capable of reaching the mounting height with two workers (one operates the lift, one handles the fixture).
-
Secure the fixture to the lift basket with a tether to prevent dropping.
-
Ensure the lift is on stable, level ground. Use outriggers if available.
-
Raise the basket slowly, keeping the fixture clear of obstructions.
-
Never climb a pole unless you are trained and equipped with fall protection and climbing gear. For poles over 80 ft, consider a crane.
Step 3: Mount Fixture to Pole Tenon
-
Slide the slip‑fitter or bracket over the pole tenon.
-
Align the fixture according to the photometric plan (aiming angle – see Step 5).
-
Tighten the clamp bolts using a torque wrench to the value specified by the manufacturer (typically 30‑50 ft‑lbs for slip‑fitters).
-
Attach the secondary safety cable to the pole‘s independent anchor point (e.g., a welded eyelet or a cable wrapped around the pole below the mount). The secondary cable should have no slack but be short enough to prevent the fixture from falling to the ground if the primary mount fails.
Step 4: Connect Electrical Wiring
Important: All electrical connections must be made in weatherproof junction boxes (NEMA 4X or IP65 minimum). Use only UL‑listed wire nuts or terminal blocks rated for wet locations.
Typical LED sports light wiring (100‑277V AC):
| Wire Color | Function |
|---|---|
| Black / Brown | Line (L) – 120/277V |
| White / Blue | Neutral (N) |
| Green / Green-Yellow | Ground (GND) |
| Purple (or Violet) | 0‑10V dimming (+) |
| Gray (or Pink) | 0‑10V dimming (-) |
Step‑by‑step connections:
-
Verify power is OFF with a voltage tester.
-
Connect line and neutral from the pole‘s supply cable to the fixture leads using weatherproof wire nuts. Push connectors into the junction box.
-
Connect ground – ensure a continuous ground path back to the panel.
-
For dimming: Connect purple (+) and gray (-) to the corresponding 0‑10V control wires from the pole. Polarity matters – purple is positive, gray is negative. If not using dimming, cap each dimming lead separately – do not connect them together or to ground.
-
Seal the junction box with gaskets and thread sealant (for conduit entries). Use dielectric grease on connections for coastal or high‑humidity locations.
-
Secure cables with weatherproof cable ties, leaving a drip loop before entering the junction box.
Step 5: Aim the Fixture According to Photometric Plan
Proper aiming is the most critical step for achieving the designed uniformity and glare control. Even premium LED fixtures produce poor results if aimed incorrectly.
Aiming angles are typically specified in the photometric plan as:
-
Tilt (vertical angle): Degrees from horizontal (0° = horizontal, 90° = straight down). For sports lighting, typical tilt ranges from 20° to 60°.
-
Rotation (horizontal angle): Degrees from field centerline (0° = facing directly across the field, positive/negative for left/right).
Aiming procedure:
-
Use a digital inclinometer (smartphone app or dedicated tool) placed on a flat surface of the fixture (e.g., the top of the housing). Adjust the tilt until the inclinometer reads the specified angle.
-
For rotation: Use a laser pointer attached to the fixture or sight along a straight edge. Align with a reference point on the field (e.g., goal line, sideline marker). Use a compass if the plan specifies azimuth.
-
Tighten all locking bolts after aiming. Re‑check tilt and rotation after tightening – movement often occurs.
-
For fixtures with adjustable optics (zoom or interchangeable lenses), set the beam angle (narrow/medium/wide) as specified in the photometric plan before final aiming.
Pro tip: For large installations, aim fixtures in stages – first set all tilts, then rotations, then perform a night‑time verification and fine‑tune as needed.
Step 6: Power On and Perform Initial Test
-
Remove lockout/tagout and energize the circuit.
-
Check that all fixtures illuminate instantly – no flicker, no delay.
-
Test dimming (if installed): Use a 0‑10V controller or a sensor to verify smooth dimming from 10% to 100%.
-
Test any integrated sensors (e.g., daylight harvest or motion – rare for sports but possible for training fields).
-
Listen for unusual noise – hum or buzz indicates a wiring or driver issue.
Step 7: Photometric Verification (Night‑Time)
After all fixtures are mounted and aimed, conduct a night‑time photometric verification to confirm the installation matches the design.
-
Use a calibrated lux meter (Class A or Class B) at grid points specified in the photometric plan.
-
Measure horizontal illuminance at the field surface (typical grid: 10‑20 ft spacing along field lines and goal lines).
-
Compare measured values to the design targets (e.g., average lux, U₀ uniformity, max/min ratio).
-
If uniformity is poor or dark spots exist, re‑aim fixtures as needed and re‑measure.
-
For broadcast‑grade fields, also measure vertical illuminance at camera positions (e.g., 5 ft above the surface at key locations).
Step 8: Final Documentation and Rebate Submission
Proper documentation is essential for warranty, maintenance, and DLC utility rebates.
-
Record aiming angles for each fixture (pole, position, tilt, rotation).
-
Log serial numbers of all fixtures and drivers.
-
Take photographs of the installation – especially secondary safety cables, junction boxes, and pole labels.
-
Generate a final photometric report with measured vs. designed values.
-
Submit rebate application to your utility using the DLC certificate, fixture serial numbers, installation photos, and proof of purchase. Most utilities require submission within 90‑180 days of installation.
Safety Reminders for Sports Lighting Installation
-
Work in pairs – never install fixtures at height alone.
-
Use proper fall protection – full body harness attached to an independent anchor point (not the lift guardrail) is required for boom lifts.
-
Never bypass lockout/tagout – verify power is off with a meter every time.
-
Be aware of overhead power lines – maintain minimum approach distances (10 ft for <50kV, more for higher voltages).
-
Weather hold – do not install during lightning, high winds, or rain (wet poles and lifts increase electrocution risk).
-
Secure loose tools – dropped tools can kill.
Common Installation Mistakes and How to Avoid Them
| Mistake | Consequence | Solution |
|---|---|---|
| No secondary safety cable | Fixture falls, causing injury or death | Always install independent secondary cable |
| Ignoring photometric plan | Dark spots, glare, non‑compliance | Aim fixtures exactly as designed |
| Over‑tightening slip‑fitter bolts | Cracked bracket or stripped threads | Use torque wrench to manufacturer spec |
| Wiring 0‑10V leads together | Fixture may not dim or could be damaged | Cap each lead separately if not used |
| Aiming without inclinometer | Inconsistent tilt, poor uniformity | Use digital inclinometer; re‑check after tightening |
| Forgetting drip loops | Water wicks into junction box | Leave service loop below the entry point |
| No ground path | Electric shock hazard, driver failure | Verify continuity from fixture ground to panel |
Post‑Installation Checklist
-
All fixtures mounted securely with primary and secondary safety cables.
-
Electrical connections made in weatherproof boxes, properly grounded.
-
Aiming angles recorded and locked.
-
Night‑time photometric verification completed – meets IES class targets.
-
Dimming and controls tested (if applicable).
-
Serial numbers and installation photos documented.
-
Warranty registration completed.
-
DLC rebate application submitted (with required documentation).
Frequently Asked Questions (FAQ)
Q: Can I install LED sports lights myself without a licensed electrician?
A: No. Most jurisdictions require a licensed electrical contractor for commercial/industrial lighting installations, especially at heights. Inadequate wiring can cause fires, electrocution, or void warranties.
Q: How long does it take to install LED sports lights on a football field?
A: A typical high school field (4 poles, 40‑60 fixtures) takes 2‑4 weeks from start to finish, including electrical prep, mounting, aiming, and verification. A professional stadium with 200+ fixtures may take 3‑6 months.
Q: Do I need to replace existing poles for LED sports lights?
A: Usually not – LED fixtures are designed to mount on standard 2‑3/8″ or 3″ tenons. However, wind load calculations may change because LEDs are lighter. Have a structural engineer review older poles (20+ years) for corrosion or fatigue.
Q: What is the proper height for mounting LED sports lights?
A: Mounting height depends on field size and beam angle, but typical ranges: football/soccer – 60‑100 ft; baseball – 50‑80 ft (outfield lower than infield); tennis – 30‑50 ft. Your photometric plan specifies exact heights.
Q: How do I aim LED sports lights to avoid glare for players?
A: Use asymmetric optics and tilt fixtures downward (30‑45° typically). For sports where players look up (basketball, baseball infield), avoid aiming fixtures directly along player sightlines. Your photometric plan should include glare analysis (UGR or GR).
Q: What is the purpose of a secondary safety cable?
A: It prevents the fixture from falling if the primary mount (slip‑fitter bolts) fails. OSHA requires secondary support for any overhead fixture that could fall onto personnel. Never skip this step.
Q: How do I verify that my installation meets broadcast standards?
A: After installation, hire a third‑party lighting testing firm to measure horizontal and vertical illuminance, uniformity, CCT, CRI, and flicker. The results must match the design specifications (e.g., Class I, CRI ≥ 90, flicker <1%).
Final Summary
Installing LED sports lights on outdoor fields is a high‑precision task that requires careful planning, proper tools, strict adherence to safety protocols, and verification against a photometric design. The key steps are:
-
Plan – obtain a professional photometric plan and verify pole integrity.
-
Prepare – configure fixtures on the ground, attach secondary cables.
-
Mount – lift fixtures, secure primary and secondary mounts.
-
Wire – make weatherproof connections, test for proper operation.
-
Aim – use digital inclinometer to set tilt and rotation per plan.
-
Verify – conduct night‑time photometric testing; re‑aim if needed.
-
Document – record aiming angles, serial numbers, and test results for rebate submission.
With a careful installation, your LED sports lighting system will deliver 30‑50 years of reliable, energy‑efficient, broadcast‑ready illumination – and your athletes, fans, and utility bill will all benefit.